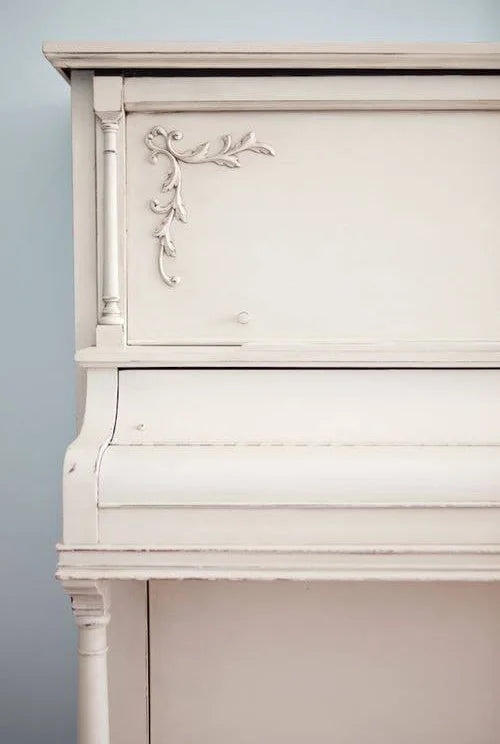
Moldings
Make furniture ornaments at home using silicone molds and special "Paper Clay" so that firing is not necessary.
Silicone molds can be used with various materials: clay, paper clay, hot glue, and even chocolate (the molds are food safe). Furniture ornaments can be painted with Annie Sloan Chalk Paint or other paints.
250 g of clay can make approximately 20 ornaments.
Photo Instructions
Creating a furniture molding is very simple. Prepare:
- a silicone mold with your favorite ornament
- modeling clay/paper clay
- a spatula
- a damp cloth
- * * starch/flour/talcum powder
- a brush for talcum powder
- * * clean water
- mounting glue
- a clean sheet of paper
- a rolling pin/bottle

Take a piece of clay and knead it thoroughly in your hands. If the clay is very dry, lightly moisten your hands with water. * To prevent the remaining clay from drying out, wrap it in a plastic bag/food wrap, wrap it in a damp cloth, and place it in an airtight container (or at least tightly wrap it with plastic to keep the cloth from drying out).

Fill the ornament mold with clay, carefully pressing down the entire surface with your fingers.
You can use a rolling pin (do not use it for food after rolling clay) or a wine bottle to roll the clay into the mold for better compression.
Then, remove the excess clay with a spatula.
Work carefully to keep your hands away from the direction of the spatula.
After removing the excess clay, smooth the clay in the mold with your fingers if it looks uneven.
The ornament should be clearly visible as in the picture on the left.

Turn the mold with the clay onto a clean sheet of paper and slightly loosen the edges of the ornament with your hands. Simple ornaments will easily fall out of the mold on their own.
If the ornament does not come out easily and sticks to the mold, it may mean you have wet your hands too much or your hands are very warm, causing the clay to soften. Talcum powder/flour/starch will help. Before filling the mold with clay, dust it with powder using a brush.
If the ornament pattern is very intricate, with delicate twists and breaks upon removal, place the clay-filled mold in the freezer for 10 minutes. The ornament pattern will firm up and easily pop out of the mold. But in warm hands, it will regain its flexibility.

It's better to glue the obtained moldings to the surface immediately with mounting glue. Simply apply glue to the back of the molding, paying special attention to the edges. If the edge remains dry without glue, the molding will "lift" off the surface. Moldings made from paper clay perfectly conform to any uneven surface shape and dry on it within 24 hours.
* If the molding is left to dry without being glued to a surface, it will deform and will not be even. If you plan to make several even moldings, use plaster instead of paper clay.

The next day, when the molding is completely dry and the glue has hardened, you can confidently paint and decorate it!
It's important to know that paper clay has a tendency to crack slightly during drying. This does not always happen, but it can occur if the clay was not kneaded well and air remained in the middle.
For vintage projects, a crack always adds extra charm. Decorate it with dark patina wax.
But if you don't like the crack, you can easily fill it with fresh clay. Use toothpicks or tools intended for modeling clay.
I wish you wonderful transformations!

